The default system disk size Linux VMs in Microsoft Azure is ~30GB. It's easy to attach new or existing disks in Azure Portal or Azure CLI. It is also easy to add those disk as mount points in Linux VM. But sometimes You may wish to increase the size of the system disk and it does not matter if Your VM is running on standard or premium storage. And it is not so easy. You need to resize the disk, resize the partition and resize the filesystem.
Resize the disk
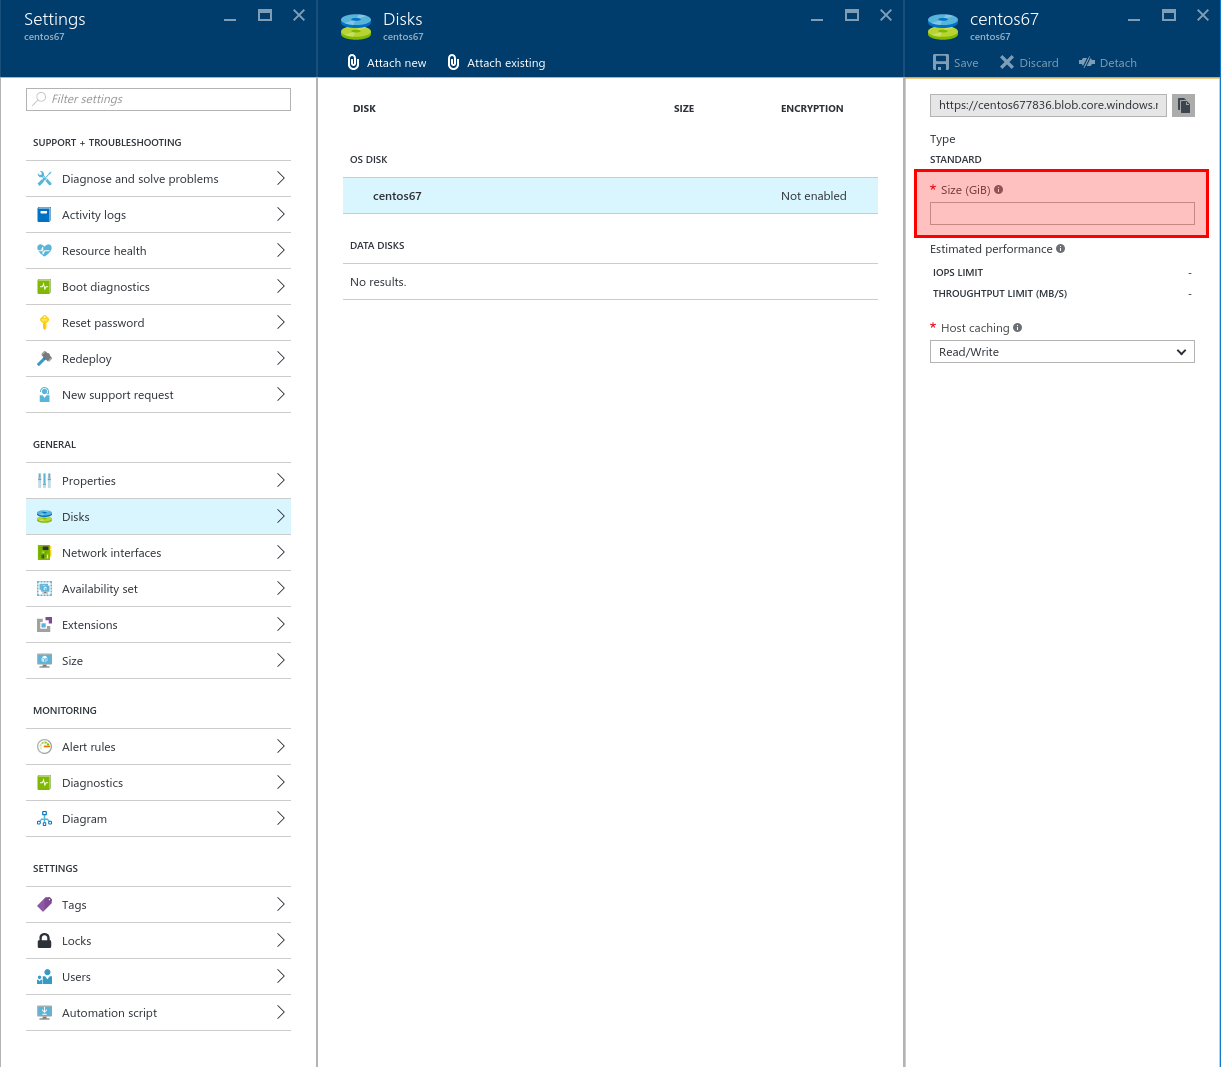
The simplest way to resize the disk itself is to do it via Azure Portal. Go to Settings -> Disks and select Your VM's OS Disk. For both standard and premium disk, in properties blade You will find the Size field. For premium storage it will be field with 3 size options (128GB, 512GB, 1024GB). For standard storage it will have input where You can specify the desired size (1023GB max).
Remember that VM must be deallocated to do this.
Simply select the desired size and save.
Changing disk size with Azure CLI is also possible, but a little bit "tricky" because You need to know the api-version, resource provider, parent resources if any to achieve this:
$ azure vm deallocate -g resource-group -n vmname
$ azure resource set --resource-group resource-group --name vmname --resource-type Microsoft.Compute/VirtualMachines --properties "{ \"storageProfile\":{\"osDisk\":{\"diskSizeGB\": 512}}}" -o 2015-06-15
$ azure vm start -g resource-group -n vmname
If You use Windows, You can do it with PowerShell:
$rg = “ResourceGroupName”
$vmName = “VMName”
$vm = Get-AzureRmVM -ResourceGroupName $rg -Name $vmName
$vm.StorageProfile[0].OSDisk[0].DiskSizeGB = 512
Update-AzureRmVM –ResourceGroupName $rg -VM $vm
Resize the partition
Login to Your Linux VM and check how many disks You have used and how much space You have:
$ df -h
As you can see the size of the system disk is about 30GB. Depending on distribution it can be /dev/sda1 or /dev/sda2 (e.g. in Ubuntu it will be /dev/sda1 mounted on / but in CentOS it will be /dev/sda2 mounted on /).
Let's do some magic with partitions:
$ sudo fdisk /dev/sda
Press u to change the units to sectors.
Press p to list the partitions details. The most important information is the starting sector (e.g. 2048).
Next step is to delete the partition (it will not delete Your data, it will only alter the partition table).
Press d and select the partition (if it’s only one partition, it will be selected automatically).
Now we are going to create a new partition. Press n and next press p to create a primary partition.
Press 1 or 2 to create first or second partition (depends on which partition we deleted). Next, enter the same value for starting sector from step where we have been printing an informations about partitions. To end accept the default end sector to use the entire disk.
Write the partitions pressing w. If there will be some error, just ignore it - it's OK.
Reboot
$ sudo reboot
Resize the filesystem
$ sudo resize2fs /dev/sdaX
Where X is resized partition's number. This operation can take a long time, so don't be nervous.
Verify
$ df -h
Credits
PowerShell snippets by : Pete Rodriguez
Azure CLI snippets by: Kirpa Singh